ok cheers again all. so i'm replacing the cam bearings in my 3.4 with short block chevy cam bearigs. i of course did a little research on the forums and found Hudini's thread, which is great, but like other info i found it sort of assumes you know more (than i knew anyway) already. there were a couple points to the process i didnt quite understand. and like anything its always better to understand what youre doing rather than to just follow the steps blindy.
so putting SBC bearings in would hopefully extend the life of them as they are wider and offer more surface area that the stock bearings. i can't remember the numbers exactly, i think the stock ones are 5/8" wide and SBC 3/4". and for literaly a couple more dollars why wouldn't you if you have them out anyway.
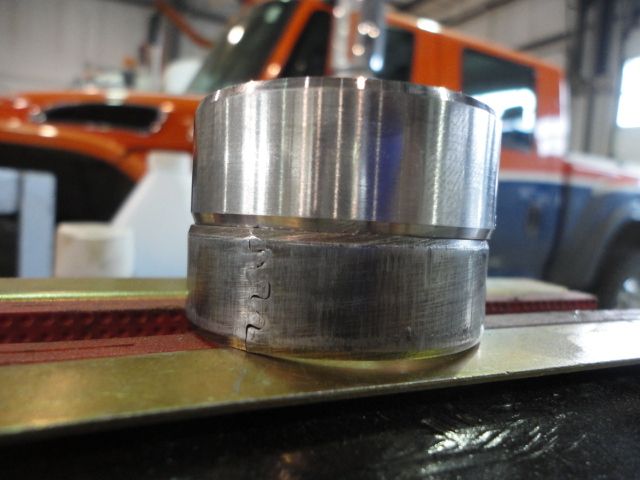
first thing that i didnt understand was the order of removing and installing the bearing and why they had to go from one end or the other. and again once you understand why you can put them in any way you like. this also ties into the sizes, and why if you use the 5 piece SBC bearing kit you won't use he #1 bearing. the only bearings that can simply be pushed in, on the V6, V8 or any V engine i suppose (that has cam in block) are the first and last. all the other bearing have to go through other bearing positions to get to their final installation position. this is why the different bearing o.d.sizes - in a V6, (4 bearings), the #2 and #3 have to go through #1 nd #4 positions to get to their spots. this is why the #1/4 are bigger than #2/3. #2/3 are 2.000" o.d., but #1/4 are 2.010". that extra 0.010" is what allows the #2/3 bearings to go through the #1/4 position without losig there initial 'crush/interferance' fit that holds them in place. this also is why the V8 set, with 5 bearings, has the #1 bearing that is 0.020" bigger, because the #3 in that case has to go through the #2 position, (0.010" biigger), as well as the #1 position (0.020"). this makes #2 0.010" bigger than #3 and #1 0.010" bigger than #2. they could have deisgned it so that the #3 goes through the back of engine, in which case #5 would be the one 0.020" bigger.
if it was a V10 (6 bearings) #1 and #6 would both be 0.020" bigger. and if a V12 (7 bearings), either #1 or #7 would have to be 0.030" bigger as 3 bearings would hae to pass through it, and of course all need to have there 0.010" cush fit when going into their final spot. i felt so smart once i figured out this logic.
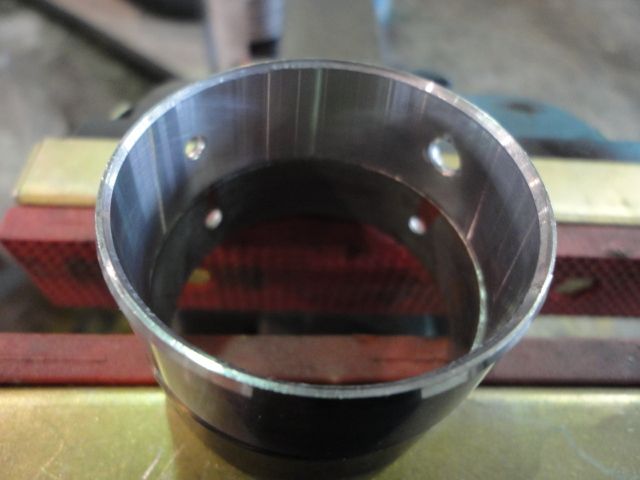
so once that is clear, you can see you can put bearings in anyway you like. i used a tool that could pull bearings and not just push, so i simply pulled 1 and 2 out he front and 3 and 4 out the back. then put #2 in through #1, and then #3 in thouh #4. then push 1 and 4 in you're done. the kit that will work is sealed power 1235m, so any cross to that will work. only issue is the #2 bearing in the SBC kit (which will be the #1 bearing in 2.8/3.1/3.4), doesn't have the second oil feed hole. (the second hole would be in the SBC kit #1 bearing, which is 0.020" bigger and not used in V6). so i took a picture of that, simply line them up and drill a second hole, you just have to delicatly remove any burr or lip created by drilling:
next is the small groove that goes from the one oil hole forward, to allow a small tricle of oil out the bearing and down to the timing chain/spockets. this part is debatable. Hudini did this job and didn"t even make an oil groove and has had no issues. also, i attempted the measure the depth of the groove with vernier calipers (on the old bearing), only to find that around the very outer edge of the bearing the groove depth is baically zero. looks like whatver pushed the beearing in flared the outer edge slightly and effectively no oil was getting through. now these bearings may have been out before, so a stock engine might have an actual functional groove, but this 3.4 didn't and suffered no consequences in 70000 km. so that could up to anybodies discretion wether its worth doing or not. i did it anyways just in case. first i tried using the edge of a small, sharp, 3-sided file, but was too slow. i VERY delicatly used my cut-off wheel tool. if you brave enough to do so, be sure you have a very steady hand and be very delicate. you can't heat the bearing and don't want to go too deep. since no groove would probably be okay, and stock is supposedly 0.025" deep i made it about 0.010" to 0.015" deep and then put it in. here's the final bearing before install:
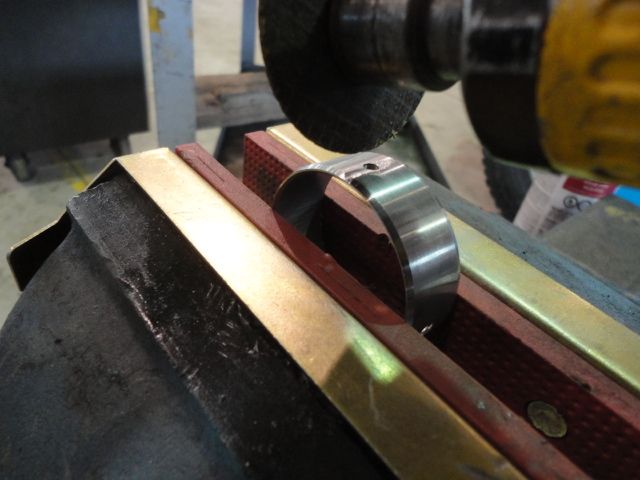
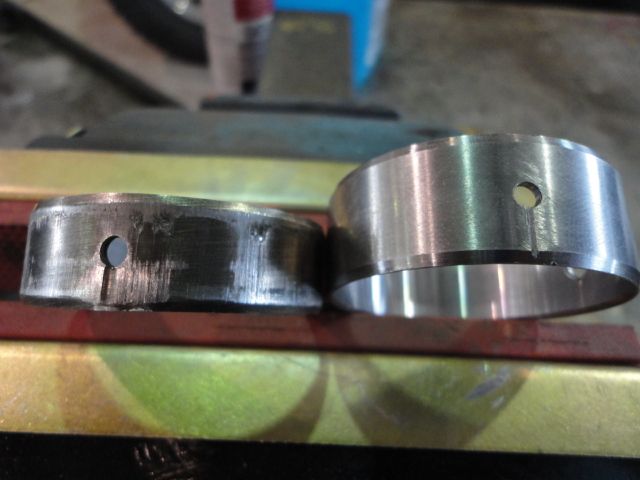
the second pic is actually after the file attempt and before using the zip-wheel, but you get the idea. so that's it - hopefully that saves somebody a bunch of time wondering why its done a certain way.


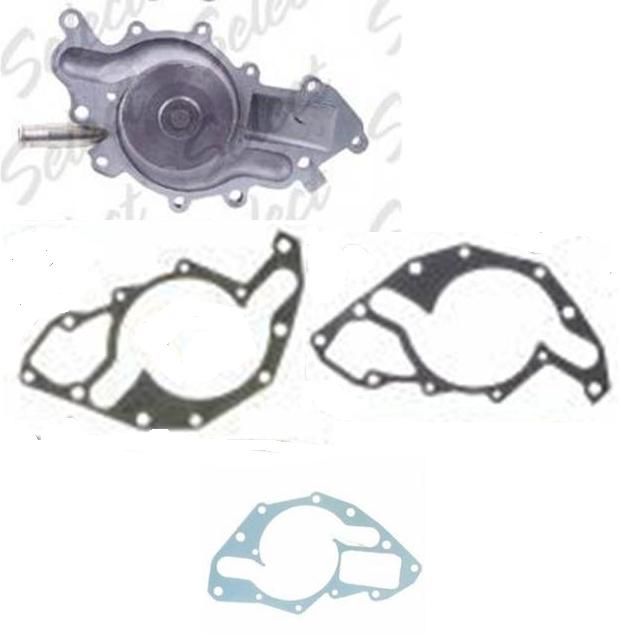
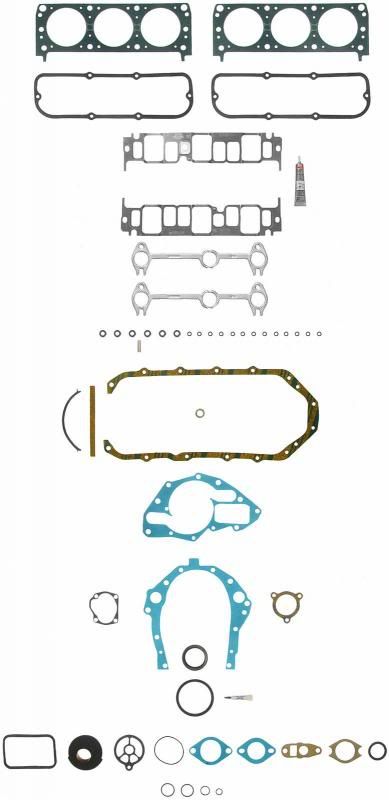

 , and on way home stopped at shop i work at to get all that info off of parts but forgot to check flywheel for weights and injector #'s, but i'll do that tomorrow)